Spiderbots
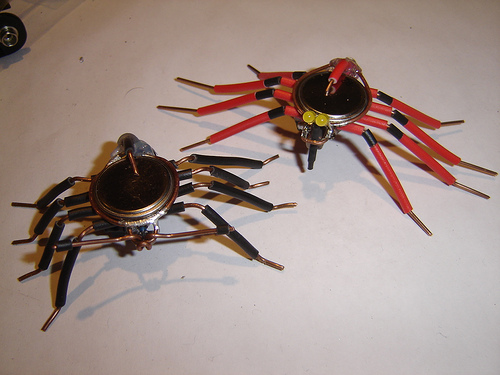
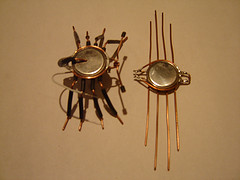
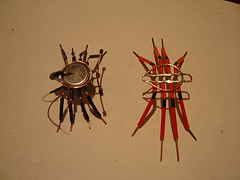
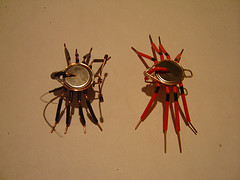
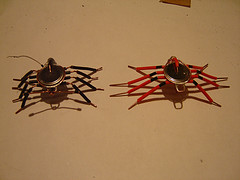
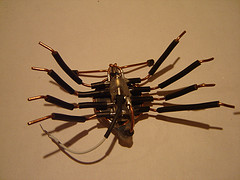
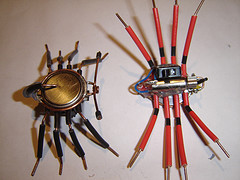
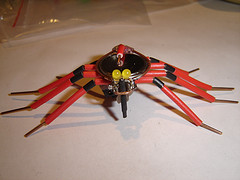
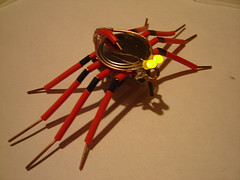
Following on from the simple xi robot I developed an ornamental spider robot. The spiderbot is made by soldering copper wire to form a battery holder (coin cell battery, CR2016 in my case) with eight legs and two antennae. The battery is wired up to a pager motor which is hot-glued to the underside of the bot, when activated the spiderbot will buzz across the table. Optionally LEDs can be used to decorate the bot.
How to make your own
You will need a length of copper wire (strong enough gauge to hold its form), a pager motor, a button/coin cell battery, a small switch, soldering iron, solder, hot glue gun and hot glue. Items from the list can be omitted or replaced to suit what you have to hand (for example you could modify the design to use regular batteries). You may also opt to add more decoration (for example using insulating tape to wrap the legs instead of wire sleeve) so be creative and please let me know how you get on.
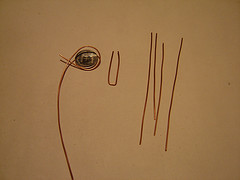
Remove cover/sleeve from wire. Cut four lengths for legs, I made the middle two legs longer than the outer two. Cut and bend a piece for the backbone. Shape wire around button cell battery (CR2016 shown)
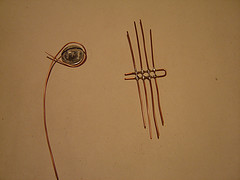
Solder the legs to the backbone. I drew a line at the midpoint on each wire to help position them and used a "third hand" to hold the pieces in place while soldering.
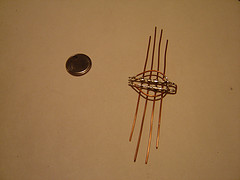
Cut out your battery support ring and solder on top of backbone.
[spiderbot1 joins to watch] Check battery fit, the button/coin cell battery will sit positive down so the negative side is not touching any of the body. The solder may need trimming with a knife or file.
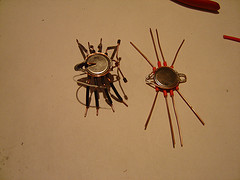
Cut the original wire cover into eight pieces, four slightly larger than the other four and put these back on the legs. Spread the outer legs to form an x.
Bend the legs downwards.
(just another shot after the legs were bent downwards)
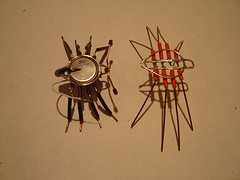
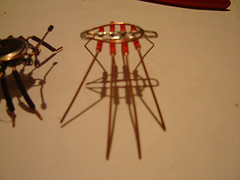
Now add some more of the wire's insulation to the legs. Instead of two colours you could leave a gap like spiderbot1 or use heatshrink (which I might try on my next spider). Bend the ends of the legs out to make feet, the feet on both my my spiderbots aren't completely flat, only the tips make contact with the ground.
In order to connect the battery's negative terminal use some wire with insulation still on and hot-glue it in place. You should try and make the battery removable while at the same time make sure the electrical connection is good and the battery won't fall out if vibrating or turned upside-down.
One more spiderbot finished. At this point I stopped as I had to wait on more pager motors arriving (bought on e-bay).
Add a pager motor by hot-glueing it to the belly of your spiderbot. One terminal of the motor will go to the top of the battery, using the insulated wire. The other wire will touch the body of your spiderbot to complete the circuit. In the absence of a small switch you can make a hook out of a wire and hang it on the spiderbot's body to make the circuit.
If you can find a small enough switch you can add that to the underside (hot melt glue to hold it in place) and connect it between the motor and the spiderbot's body.
I've added two LEDs to give spiderbot2 some personality. The negative leads of the LEDs are soldered together and inside the heat-shrink sleave (which looks like a mouth I think), while the positive leads are soldered directly to the body, both holding it in place and making the electrical connection.
If I want the LED eyes illuminated a wire is used to connect the battery's negative terminal and the LED's negative terminal (top of the battery in this case). This is done as the motor draws too much current for both to operate from the switch. If you want your LEDs on more often, add a current limiting resistor (so the LEDs don't burn out) and a second switch.
Please leave me a note in the guestbook if you make your own, I'd love to hear what you do differently.
Disclaimer
Please be careful when working with equipment such as soldering irons and hot melt glue guns. Adult supervision is advised and any children found to be leaving their adults unsupervised may not get any dessert.
